| |
||||||||
| |
|
|
|
|
|
|
|
|
| |
||||||||
| |
||||||||
| |
|||
Dove Blender Technique Sheet |
|||
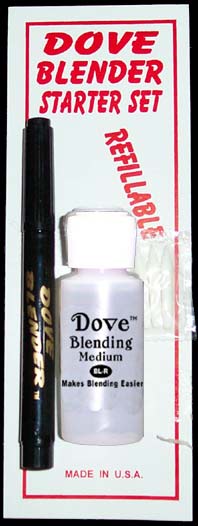
The Dove Blender The Dove Blender Pen is a Revolutionary New Blending Medium, specially formulated to make "floating " or blending color easier.It will enable one to blend several hues together, giving one more variation with their mediums. The Dove Blender will allow one to achieve more variation with out using many colors. The Dove Blender works with all water based markers, watercolor pencils, watercolor paints, chalks, embossing powders, dye pads, and pigment pads. The blender never has to be replaced, it is easily refillable and the nibs are replaceable. But most important theDove Blending Fluid will make your work Permanent when it is allowed to dry. |
|
||||
| |

Dove Blender Kit |
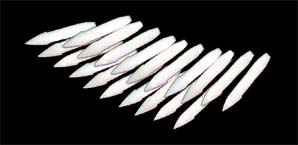
Dove Blender Nibs |
Dove Blender Refill Fluid 1oz and 4 oz |
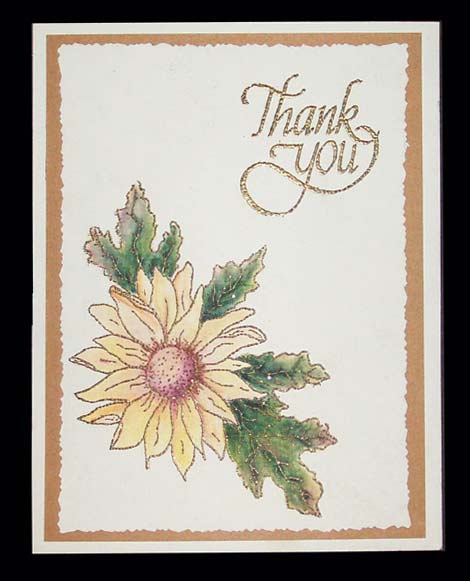 |
Blending Techniques on Embossed Images With the tip of your water based markers, lay a hint of color on the actual embossed image. The embossed lines serve as a palette, making it easier to move the color, thus eliminating a hard line created by the marker. Working in a circular motion and in small areas, use the Dove Blender to pull the color into the open area of the design. When this process is completed a light application of color will appear on the image. to prevent the color from appearing too washed out, continueto add more color using the marker and the Dove Blender until the desired depth of color is achieved. Start with lighter colors and then gradually add darker colors. Limit the colors being used. Three basic colors differing in intensity, plus variaition in value, will give life and interrest to a stamped image. |
|
||
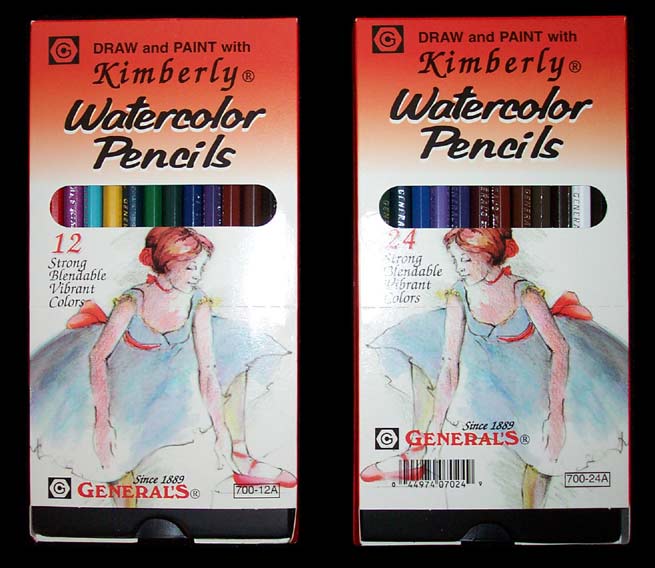
Blending Techniques with Watercolor Pencils and Chalks |
6.  When using Watercolor Pencils, take color you are going
 to use and make a palette by scribbling a little of each
color on a scrap piece of paper with all the colors.
 Then take your Dove Blender and pick up the color
 and apply to your image.
 Hint start with lighter colors first.
 When you are done there is no fixative needed
because the blending medium in the pen does it for you.
7. When using Chalks you can apply a little to the area you are coloring, or use a applicator and take the Dove Blender tip to pick up the color, then apply to image. You also can take the blender tip right to the chalk color. When you are done there is nofixative needed because the blending medium in the pen does it for you. 8. When using Watercolor Paint take the Dove Blender or a brush with the Dove Blending Fluid directly to the color or use a palette, and then pick up the color, and start coloring your image. When you are done coloring, the blending medium in the pen or the Blending Fluid on the brush will make your work Permanent when it is allowed to dry. 9. When the Dove Blender becomes dry, simply pull the end cap off and add several drops of the Dove Blending Fluid in the pen. Be sure you only add drops, not fill the the pen to the top. 10. When the Dove Blender tip becomes frayed, simply pull the nib out and replace it with a new one. Hint moisten the nib with some blending fluid so you can start coloring right away. |
Blending Techniques on Embossed Images With the tip of your water based markers, lay a hint of color on the actual embossed image. The embossed lines serve as a palette, making it easier to move the color, thus eliminating a hard line created by the marker. Working in a circular motion and in small areas, use the DoveBlender to pull the color into the open area of the design. When this process is completed a light application of color will appear on the image. to prevent the color from appearing too washed out, continueto add more color using the marker and the Dove Blender until the desired depth of color is achieved. Start with lighter colors and then gradually add darker colors. Limit the colors being used. Three basic colors differing in intensity, plus variaition in value, will give life and interrest to a stamped image.
|
 |
 |
 |
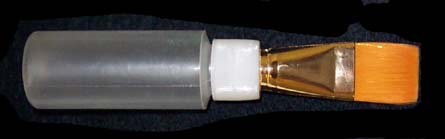
Squeeze& Flo with Dove Blending Fluid ........When using the Sueeze & Flo, fill the bottle about 1/3 of the way with Dove Blending Fluid only, then squeeze the bottle until the fluid flows onto the the brush. Pat the brush on a scrap pieice of paper or paper towel to make the bush evenly wet, then dip the tip of the brush into your Pearl Ex pigment, and start to creat a background or paint directly on your image with the brush with Pearl Ex pigment on it. Squeeze the bottle a little as you are painting to keep the flow, when the brush becomes dry, the squeeze again. When using your Sueeze & Flo for preping your paper for coloring with the Dove Blender, coat the area that will be colored with the Dove Blending Fluid and begin to color image. |
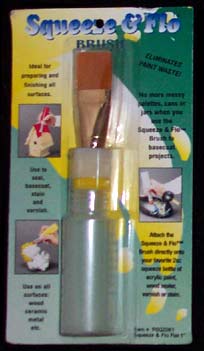 |
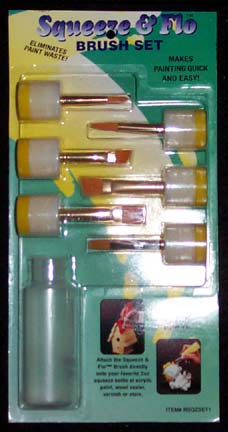
When cleaning your brush, use water,
 wipe clean and go to your next color.
When Finished painting, fill the Squeeze & Flo bottle with water and thorughly clean brush by squeezing and brushing on scrap paper. Squeeze & Flo Brush comes in Various Shapes and Sizes. Choose the right size for your image. You also can use the Squeeze & Flo with: Chalks, Dye Pads, Watercolor Paints, Pearl Ex Pigments, Water Based Markers and Watercolor Pencils. |
|
||||||
| ... .. ... . . . |
||||||
| |
||||||
 |
||||||
©
2006 Dove Brushes Mfg. All Rights Reserved. Any duplication in whole
or part is in violation of copyright laws...Web
Designs by Dove |